1.
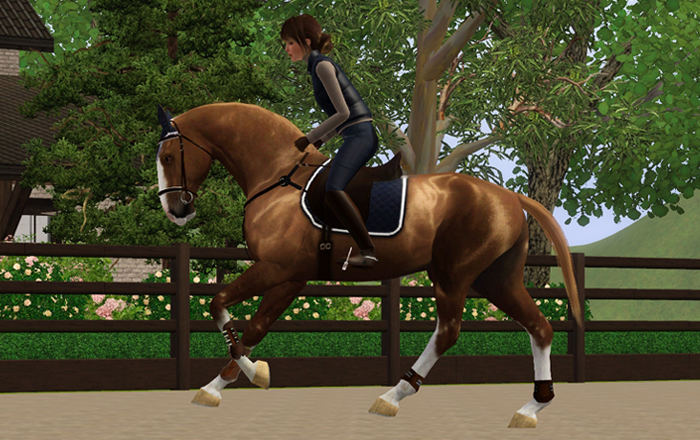
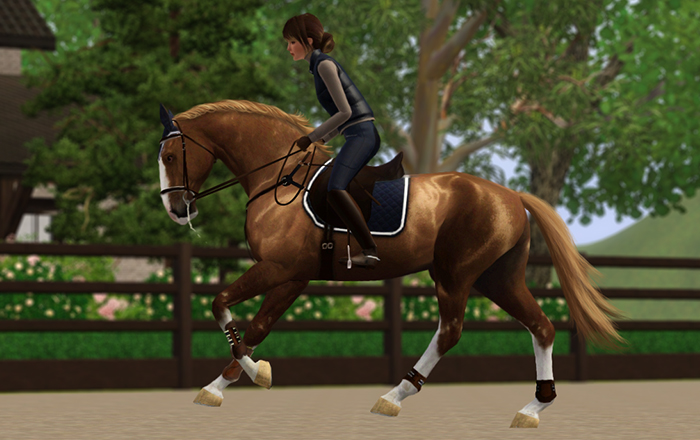
Choose a picture you want to edit.
Here is mine. Ugly and pixeled. But we will change it :-)
Choose a picture you want to edit.
Here is mine. Ugly and pixeled. But we will change it :-)

2.
First grab the selecting tool. I use Polygonal Lasso Tool.
First grab the selecting tool. I use Polygonal Lasso Tool.
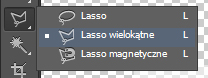
From the top menu choose the second icon. It will give you opportunity to add more parts to your selections.

You don't need to select whole horse at once, you can do it by steps, thanks to this tool.

3.
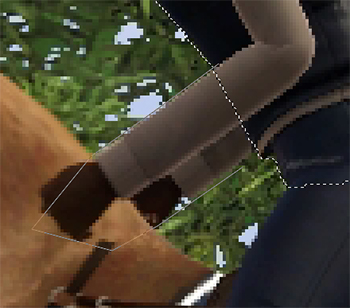
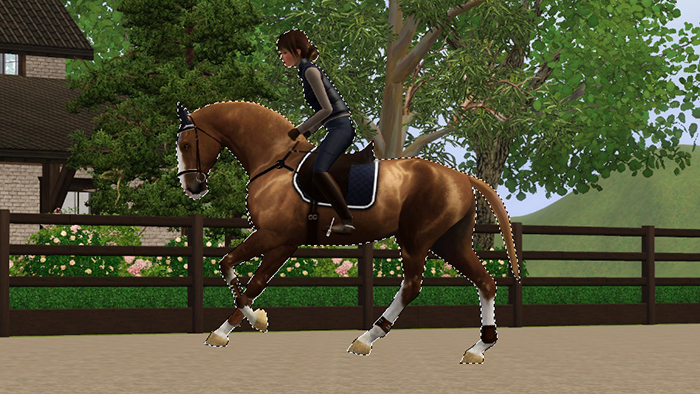
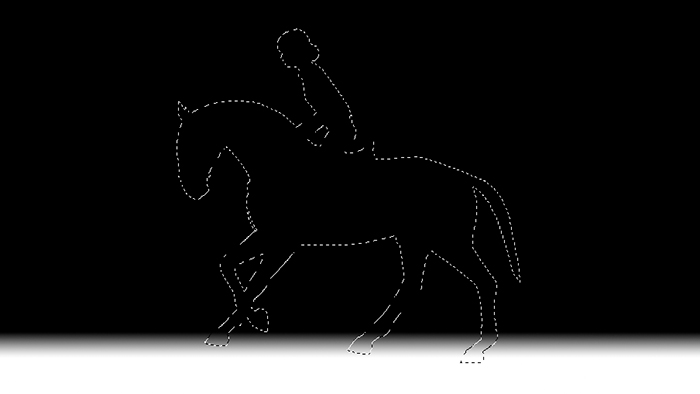
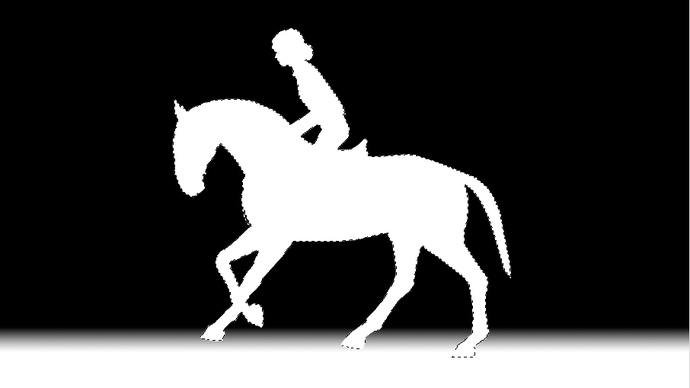
Select your foreground. In most cases you foregroud are models.
My opnly advise is to always select 1 pixel more, because if you won't do it that way and some of horse's pixels won't be selected, it may result in glowing.
Select your foreground. In most cases you foregroud are models.
My opnly advise is to always select 1 pixel more, because if you won't do it that way and some of horse's pixels won't be selected, it may result in glowing.
Also don't care about tail now.
When you finish you're image should look like this.


4.
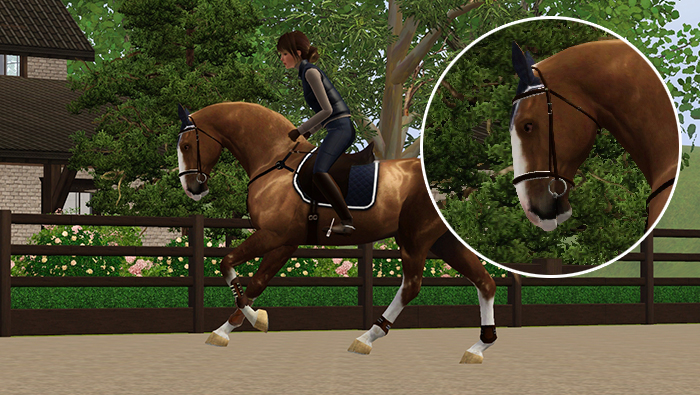
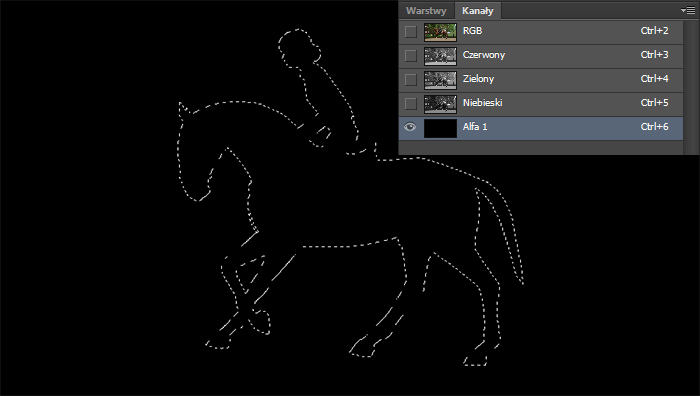
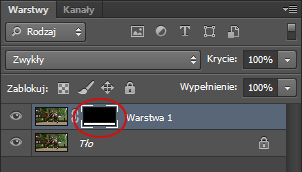
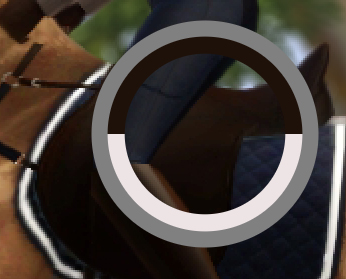
Now go to Channels window. Click the paper icon at the bottom (red circle).
I just want to thank Dana Johnson for teaching everyone this method, because it's the greates I have ever tried.
Now go to Channels window. Click the paper icon at the bottom (red circle).
I just want to thank Dana Johnson for teaching everyone this method, because it's the greates I have ever tried.

You will see new channel and your image will change to black.

5.
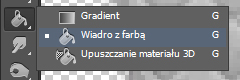
Choose the Paint Bucket (G).
Choose the Paint Bucket (G).
Then choose foreground color to white.

Fill the selection with white.
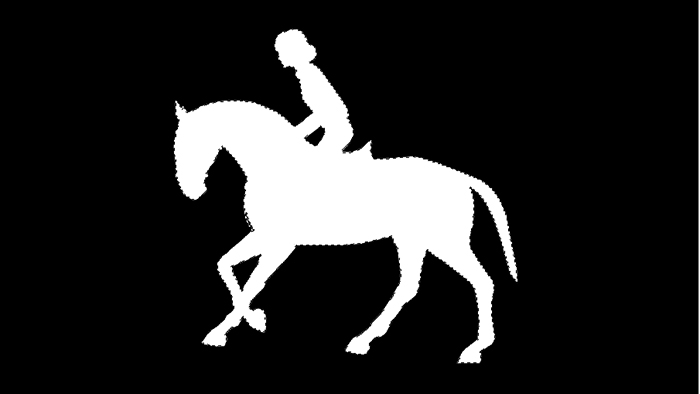
Go back to Channels panel and click RGB layer, your image will go back to normal look.
Click CTRL + D to deselect your horse and rider.

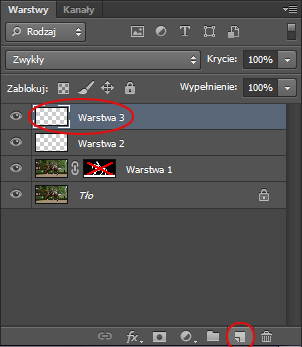
6.
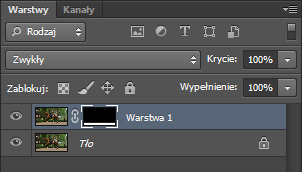
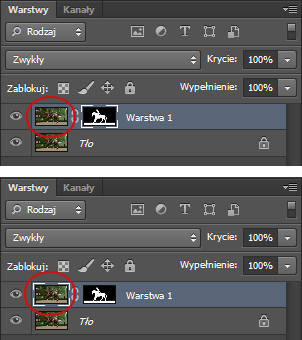
Now you need to create a layer mask. To do it first go back to Layers panel.
Now you need to create a layer mask. To do it first go back to Layers panel.
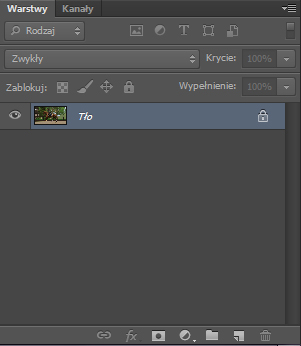
Click CTRL + J to duplicate layer.
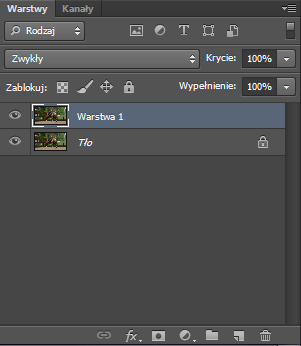
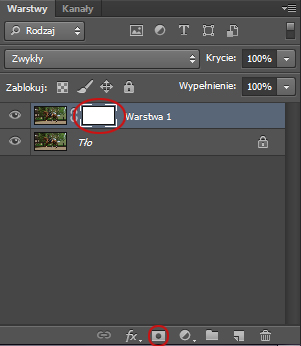
Now click the small rectangle with a dot to create a mask leyer.

7.
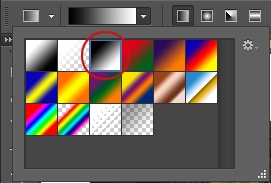
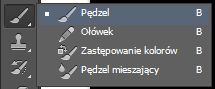
Choose Gradient Tool. It's hidden behing Paint Bucket Tool, to choose it right click Paint Bucket.
Choose Gradient Tool. It's hidden behing Paint Bucket Tool, to choose it right click Paint Bucket.
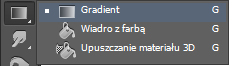
From the top menu choose the black/white gradient (third one).
Now you need to click on the background to set a point where blurring will start to fade, hold it and move down to where blurring will end. Hold SHIFT to draw a straight line.
You will notice that mask leyer has changed to gradient.


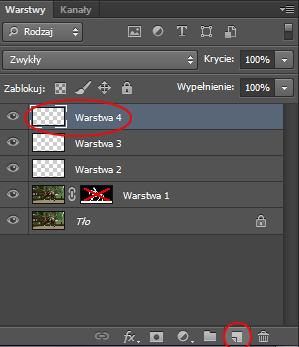
8.
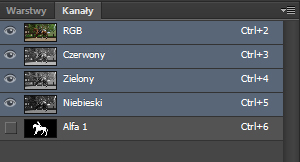
Go back to Channels panel. As you can see you have a new layer called "Layer Mask" that contains your gradient.
Go back to Channels panel. As you can see you have a new layer called "Layer Mask" that contains your gradient.
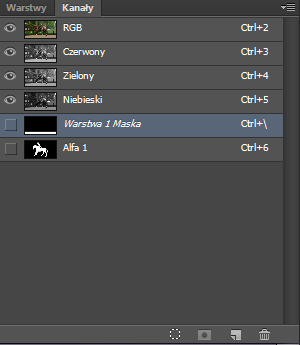
Now hold CTRL key and click Alpha channel (the last one). Your selection will be back on the image.
Go back to Layers panel.
Hold ALT and click mask layer.
Your image will look like this.

9.
Select Brush.
Select Brush.
Choose the basic round one and set it's size to around 400-500 pixels.
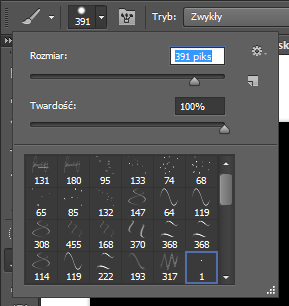
Now you have to fill the selection with white color using brush.
Deselect by clicking CTRL + D.

10.
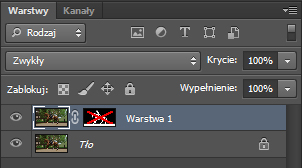
On the Layers Panel click first minature to deselect mask layer.
On the Layers Panel click first minature to deselect mask layer.
Hold SHIFT and left click mask layer. The red cross will show up.

11.
Now we move to background blurring.
Go to Filters > Blur > Lens Blur
Now we move to background blurring.
Go to Filters > Blur > Lens Blur
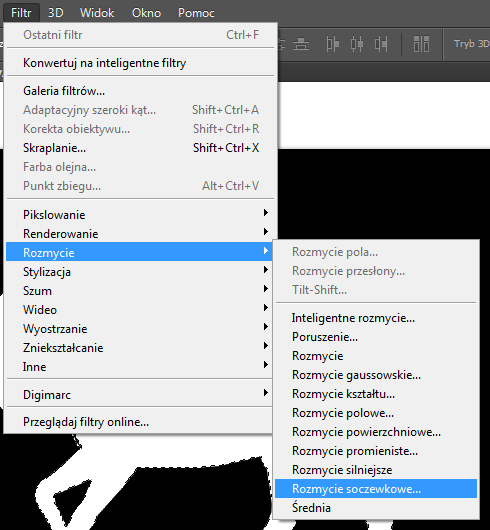
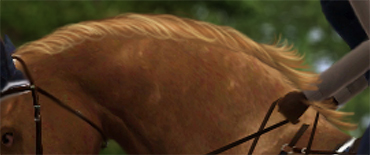
You will se a new window. As you can see now everything is blurred.
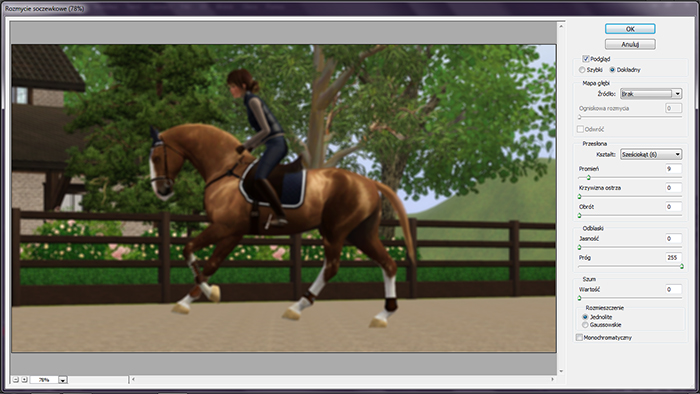
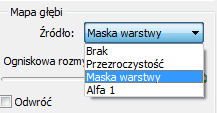
Move to right panel. First set source of Depth Map to mask layer.
Now set Blur Focal Distance to 255.

Now you can set the Radius. It's the amount of your blur. Don't set it too high, because your image won't look natural. I have set mine to 9. The closer your models are, the higher the Radius should be.
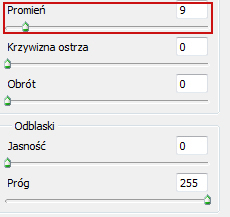
If you followed my steps your image should loke like this. Then click OK.


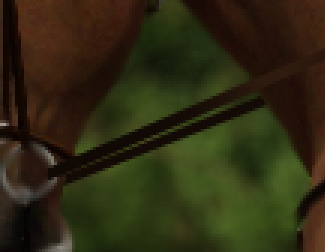
12.
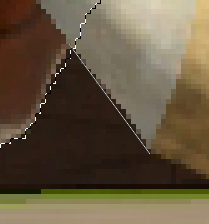
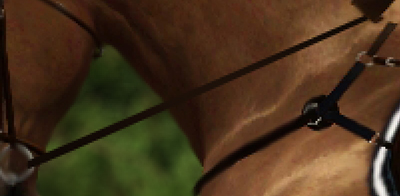
When you are done with blurring you need to get over with pixelled edges around horse and rider.
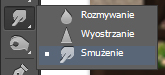
Grab the Smudge Tool.
When you are done with blurring you need to get over with pixelled edges around horse and rider.
Grab the Smudge Tool.
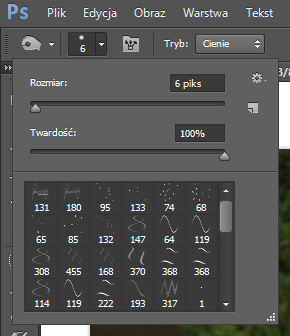
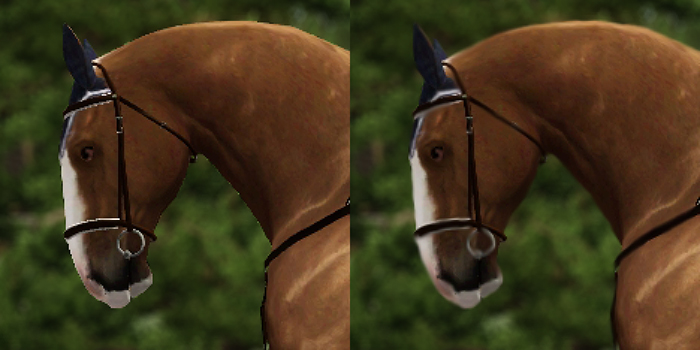
From the top menu choose the round basic brush, set it's size to 6 and Hardness to 100%.
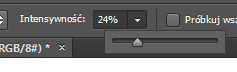
Set strenght to 20-35%. You will see the difference between 20 and 35 and simply choose the one you prefer.
Smudge edges to make pixels dissapear. You can use this tool to smudge everyting - mane, tail, rider's tack and horse's tack.

13.
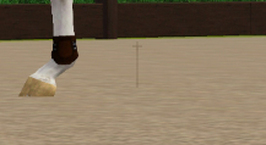
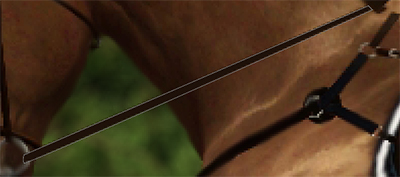
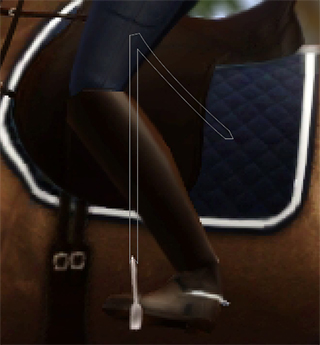
Time to draw the missing tack like rains and stirrup straps.
While adding them remember the correct positions of each. The reins should be kept between fourth and fifth fingers and stirrups traps are connected to the top of the saddle, not to girth! Also take a color of the tack info account. Don't draw black reins to a brown bridle.
Grab the Eyedropper Tool.

Choose one of the lighter colors of horse's tack.
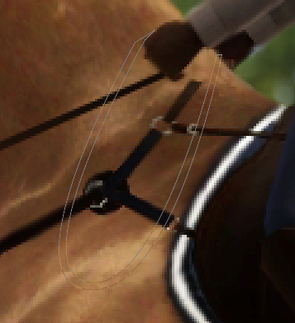
Grab the Pen Tool (P).
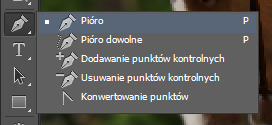
Set pen settings to Path from the top menu.

This tutorial won't teach you how to use Pen Tool, so please visit YouTube for more information.
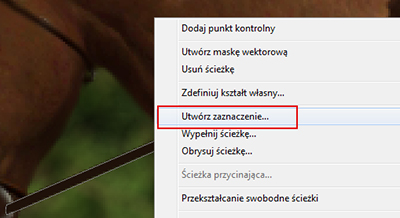
Place the rain shape.
Place the rain shape.
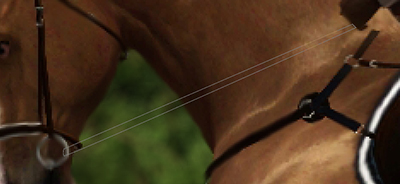
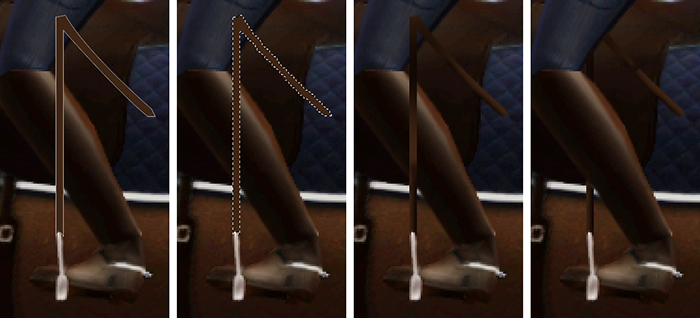
Right click created shape and choose "Fill with color".
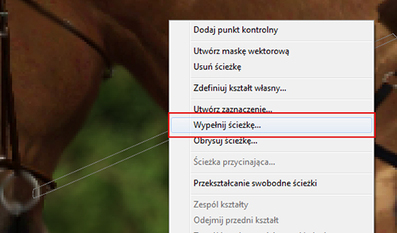
In the pop-up window choose the first option to "Foreground color".
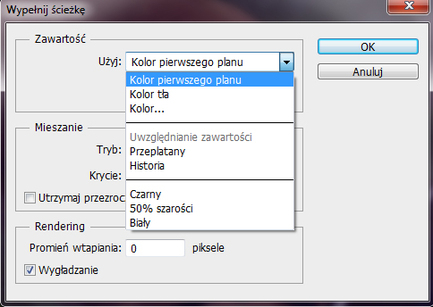
You will se how rein fills with selected color.
Right click the shape and choose "Create selection".
A window will show up - set Radius to 0.
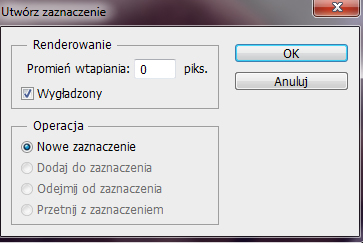
Click CTRL + D to deselect.

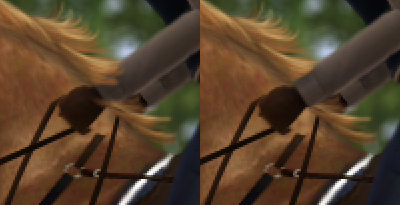
14.
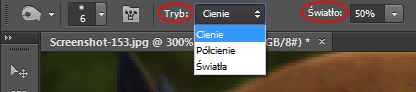
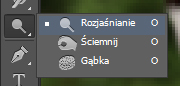
To make the reins more realistic, grab Burn Tool (O).
To make the reins more realistic, grab Burn Tool (O).
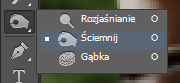
Set the Range to "Shadows" and Exposure to 50%. Also you need to set the size of the brush - do it as you wish, I use a simple round brush in size of around 100 pixels with 0% of Hardness.
Click on both sides of the rein so they will get darker.
Now grab the Dodge Tool (O).
Again set the size to around 50 px, Range to "Shadows" and Exposure to 50%.

Use it once or twice at the middle of the rein to make a highlight.

Go to Layers panel and create new layer.
Grab the Pen Tool (P) again and place a shape for another rein.

Right click shape and choose "Fill with color". Than, as before, right click again and choose "Create selection". Click OK and CTRL + D to deselect. Grab the Burn Tool and burn all rein to make it darker.
Again make a new layer.
Now create the part of the reins that is left at one side.
Repeat the process of filling with color, creating selection, deselecting and adding shadows and higlights.

15.
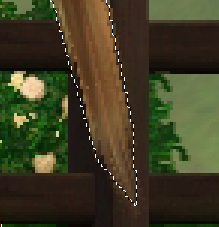
Now it's time for stirrups straps.
Create one more layer in Layer panel. Grab the Pen Tool (P) and draw the shape of your straps. Don't forget about their correct position!
Now it's time for stirrups straps.
Create one more layer in Layer panel. Grab the Pen Tool (P) and draw the shape of your straps. Don't forget about their correct position!
And again fill it with foreground color, create selection, deselect and add some shadows. Grab the Erease Tool (E) and remove unwanted parts that must be hidden under leg.

16.
For more realism you can grab the brush and draw some saliva. Before doing that remember of adding new layer.
For more realism you can grab the brush and draw some saliva. Before doing that remember of adding new layer.


17.
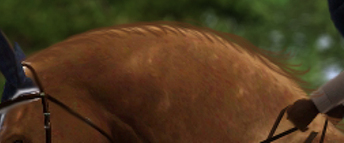
Let's start with a mane.
Always draw the darker base first. It will tell you where the shape should be and will be a great background for you mane.
Let's start with a mane.
Always draw the darker base first. It will tell you where the shape should be and will be a great background for you mane.
Then draw the mane with main color.
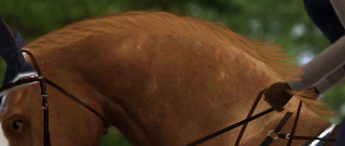
Add highlights with lighter color.
Grab Burn Tool and set the Range to Midtones if you work on chestnut mane, Shadows if you work on black hair and Lights when white. Burn hair endings. Now grab the Dodge Tool and add some light to the middle.
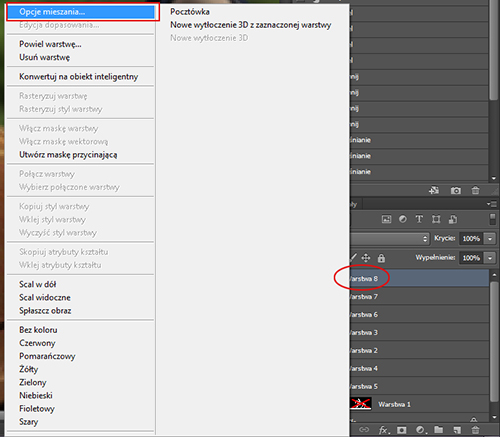
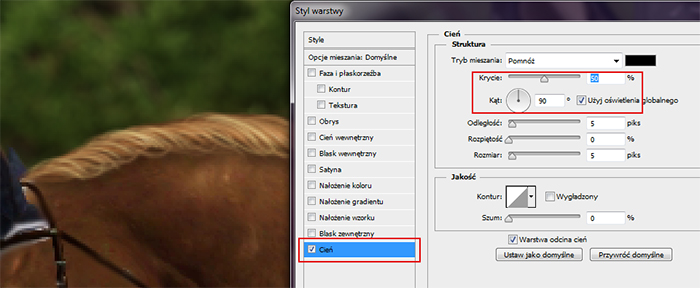
Go to Layers panel. Right click your mane layer and choose Blending options.
Go to "Shadow", set the angle to 90 and Opacity to 50%.
Grab Erease Tool and erease all parts that are hidden under hand.

18.
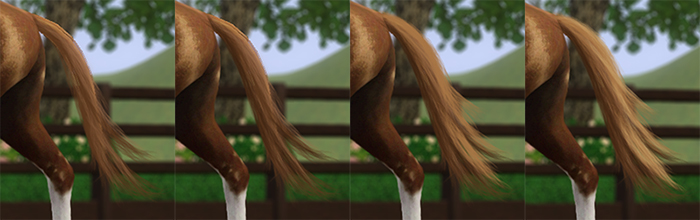
Time for tail!
I use special brushes for my tail. There are many brushes aroud the internet and you need to look for your favourites.
Start with darker hair, than each time add lighter parts. Don't forget about the hair movement.
Time for tail!
I use special brushes for my tail. There are many brushes aroud the internet and you need to look for your favourites.
Start with darker hair, than each time add lighter parts. Don't forget about the hair movement.

19.
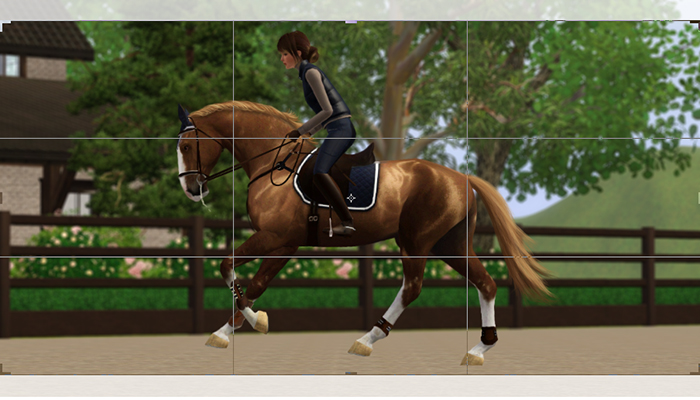
All we need to do now is to crop our picture. Use Crop Tool (C).
All we need to do now is to crop our picture. Use Crop Tool (C).
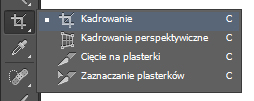
Depending on the version of your Photoshop you will wokr different with Crop Tool.
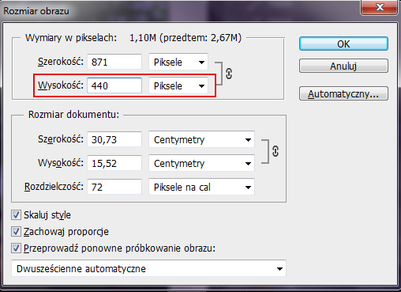
Go to Image > Image Size or click CTRL + ALT + I
Write down the Height of your picture, depending on what size you like. My pictures I upload to internet are 700x440px, so I type 440 in height.
Write down the Height of your picture, depending on what size you like. My pictures I upload to internet are 700x440px, so I type 440 in height.
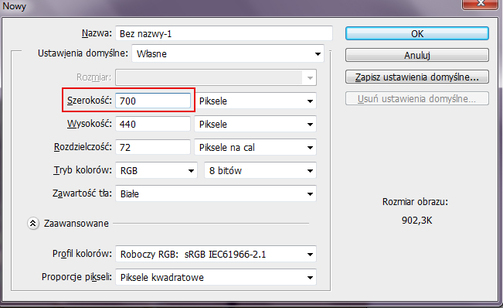
Click OK, select all image, copy and go to File > New or click CTRL + N.
In the pop-up window type the width of your image. I type 700. Then click OK.
In the pop-up window type the width of your image. I type 700. Then click OK.
Paste your picture and move it to the correct position.

20.
I love vignettes. I just love them. You don't need to add one, but I do. And I will show you how I do it.
For vignette I use Lightroom 5. When I add it I don't export my file. I do Print Screen, because I don't loose quality. Now I paste the Print Screen to Photoshop.
I love vignettes. I just love them. You don't need to add one, but I do. And I will show you how I do it.
For vignette I use Lightroom 5. When I add it I don't export my file. I do Print Screen, because I don't loose quality. Now I paste the Print Screen to Photoshop.
I don't like dark pictures, so click CTRL + M to open Curves window.
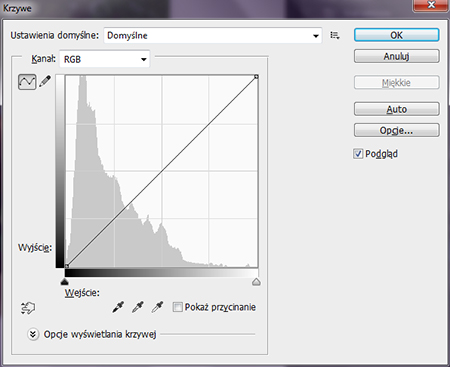
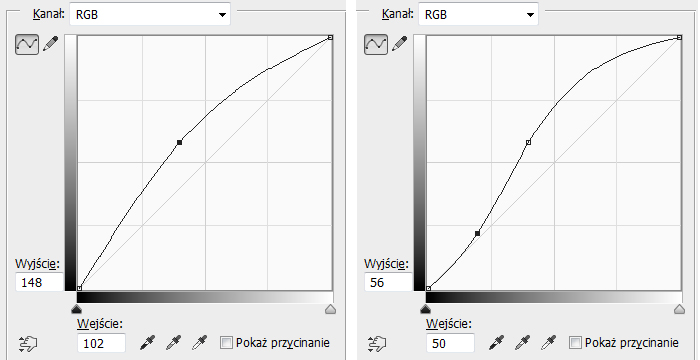
This how I play with Curves:
Frist I move the line up to brighten picture (left picture). Then I grab bottom part of the line and move it a bit down to get more contrast (right picture).
Frist I move the line up to brighten picture (left picture). Then I grab bottom part of the line and move it a bit down to get more contrast (right picture).
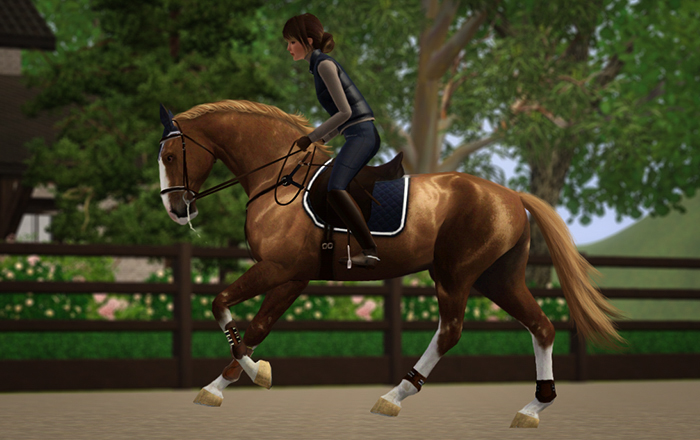
A bit of playing with Curves, a bit of sharpening and voila!
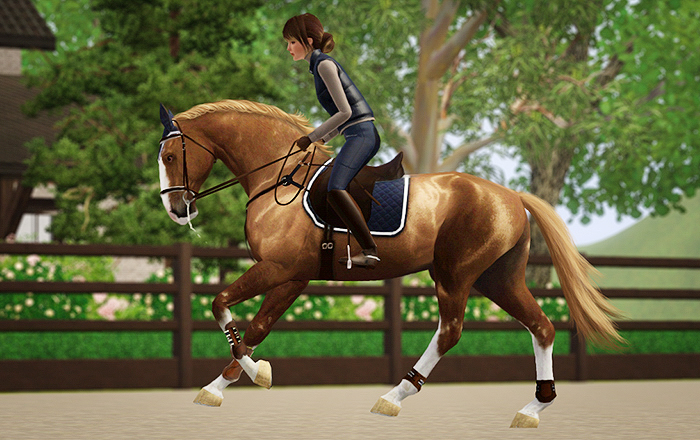

Before & After
(Click for a bigger size)
(Click for a bigger size)