1.
First of all if you don't have TSR Workshop yet, go and download it from TheSimsResource page.
First of all if you don't have TSR Workshop yet, go and download it from TheSimsResource page.

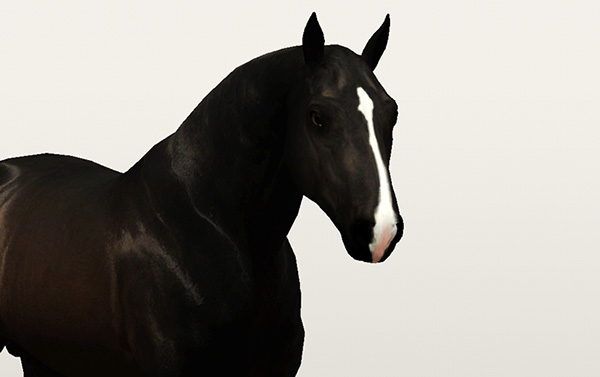
Also you need a base of horse texture, click image and save this full size texture.

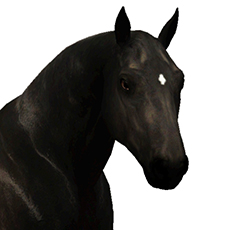
Also you need to download any marking to have a basic TSRW project. Get mine for egxample.
Click image for direct download link.
The las thing to download is a very usefull tool for creating packages from sims3pack files.
It's called Sims 3 Pack Multi Installer.


2.
Open prefered graphic editor. This tutorial is based on Photoshop CS6 tools.
Open horse texture you have downloaded at the beginning.
Open prefered graphic editor. This tutorial is based on Photoshop CS6 tools.
Open horse texture you have downloaded at the beginning.

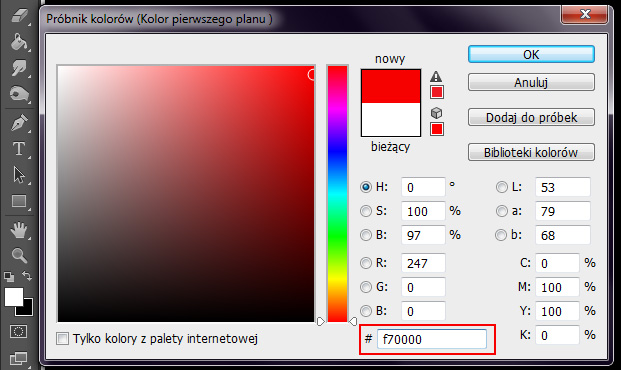
Click on the foreground color and type #f70000 in color code.
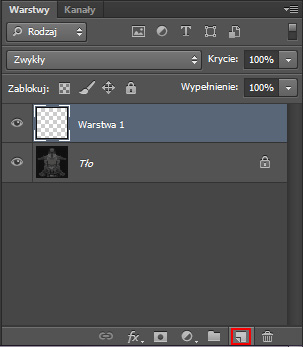
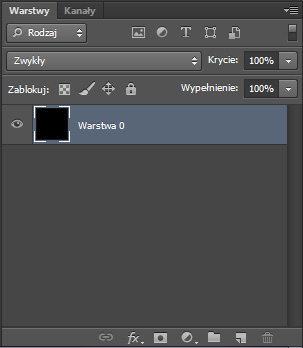
Go to Layer panel and create new layer by clicking paper icon.
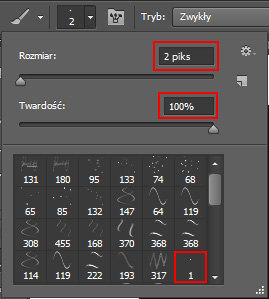
Grab the simple Brush Tool and set it's size to 2 and hardness to 100%

3.
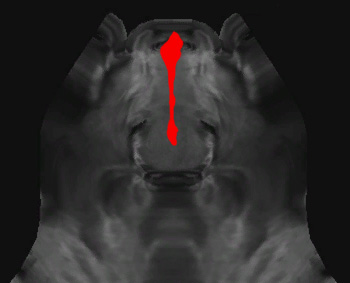
You are ready to draw the marking. Be sure your foreground color is set to red and you have new layer selected.
You are ready to draw the marking. Be sure your foreground color is set to red and you have new layer selected.

4.
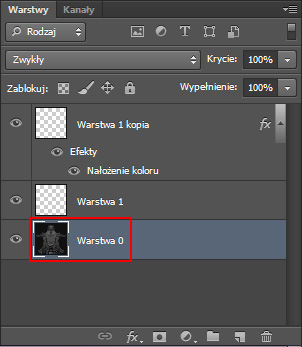
Click CTRL+J and your marking layer will be copied.
Click CTRL+J and your marking layer will be copied.
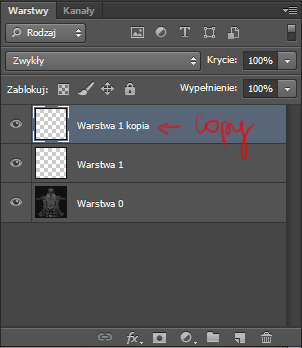
Right click your new layer (Layer 1 Copy) and select "Blending options".
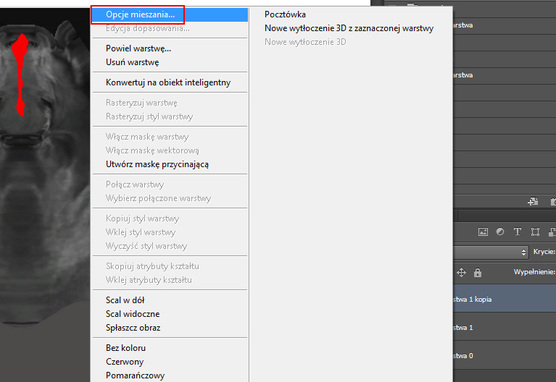
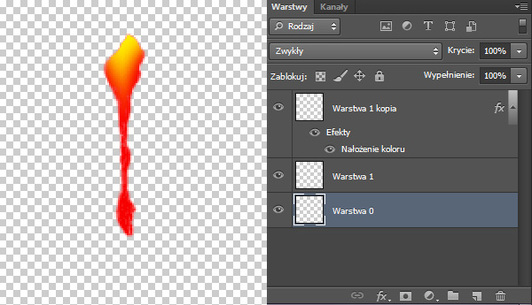
Go to "Color overlay" tab.
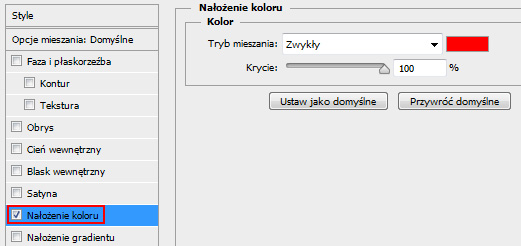
Click red rectangle.
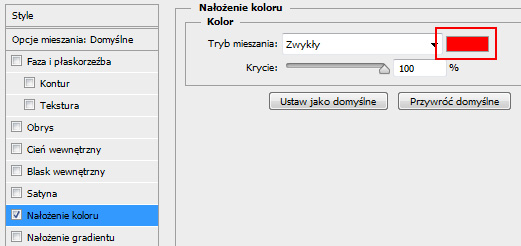
Type yellow color code #fff300.
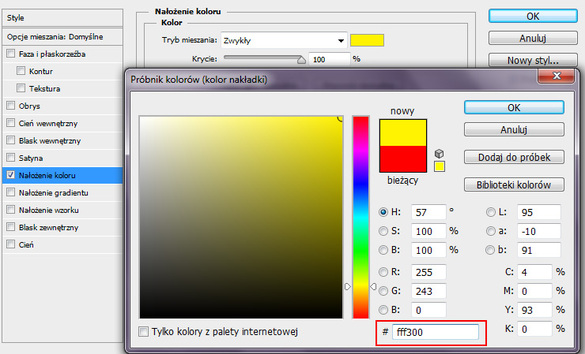
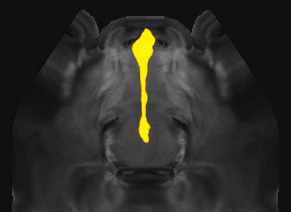
Click OK and OK again. Your image should look like this now.

5.
Grab the Ereaser Tool (E).
Grab the Ereaser Tool (E).
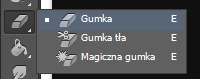
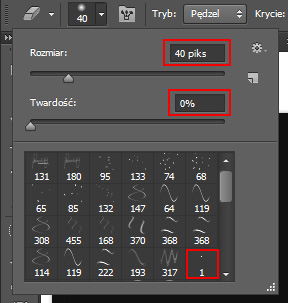
Select basic round brush, set its size to 40 and hardness to 0%.
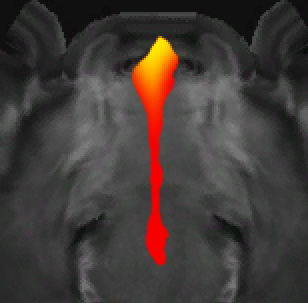
Carefuly remove some yellow parts and leave only a part where your marking could be pink in game.

6.
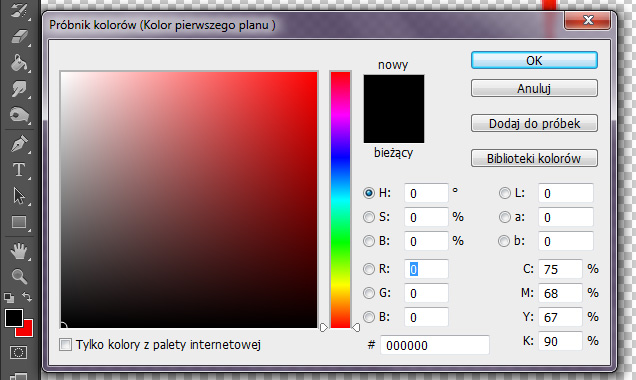
Pick black (#000000) as your foreground color.
Pick black (#000000) as your foreground color.
Go to layer panel and select the bottom one with horse texture.
Click:
CTRL+A to select whole layer
CTRL+X to remove layer
Your background will become transparent.
CTRL+A to select whole layer
CTRL+X to remove layer
Your background will become transparent.
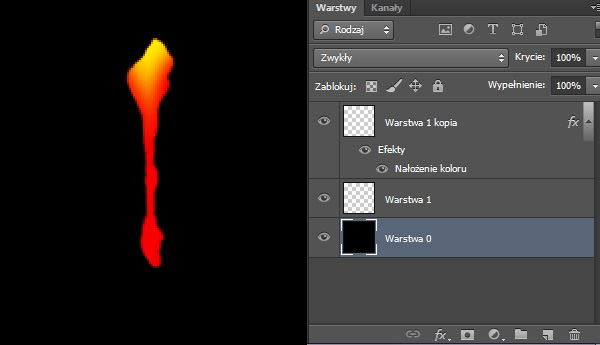
Grab Paint Bucket.
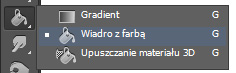
Fill the background layer with black.

7.
Click CTRL+SHIFT+E to merge all visible layers into one.
Click CTRL+SHIFT+E to merge all visible layers into one.
Go to File > Save As and save your image as PNG file. Let's name it "Marking mask.PNG".


8.
Open TSR Workshop and click "Create new project".
Open TSR Workshop and click "Create new project".

Select "New import" and click "Next".

Select "Browse".
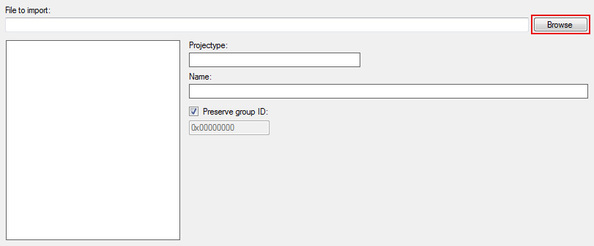
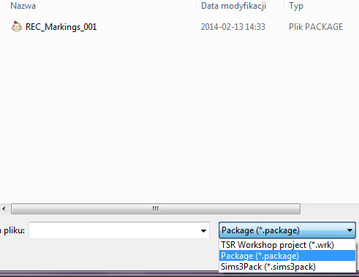
Look for the marking you have downloaded. From the list below select "Package" files, choose marking and click "Open".
Don't change anything and click "Next".
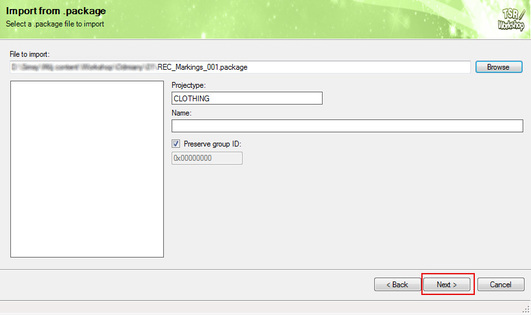
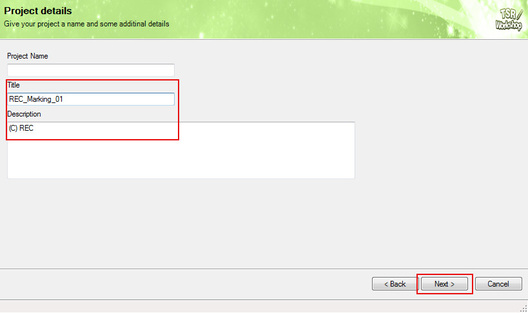
Name your marking, add a description (not nacessary) and click "Next".

9.
Navigate to "Texture" tab at the right panel.
Navigate to "Texture" tab at the right panel.
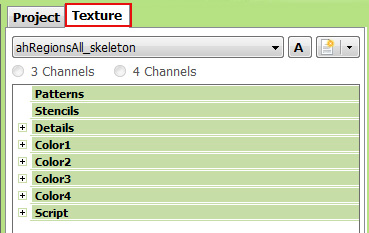
Click little plus icon next to "Details" to show more in this section.
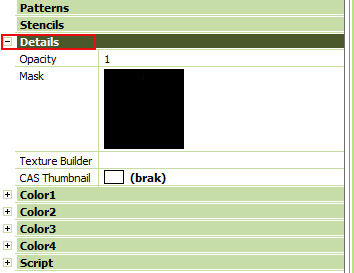
Click black mask square twice. Select "Import".
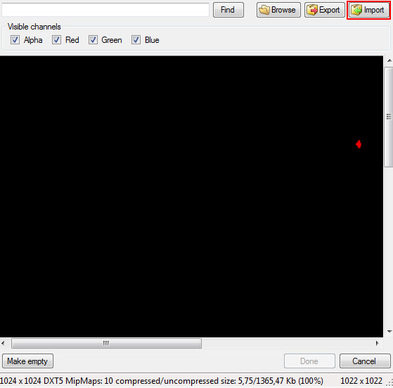
Set extention to "Bitmap Image (tif, png)".
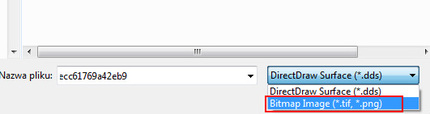
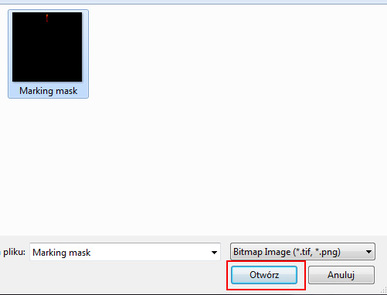
Find "Marking mask.PNG" and click "Open".
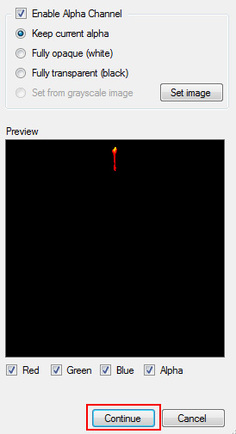
Make sure everything is selected just like in the picture below. If so, click "Continue".
When an image load click "Done".
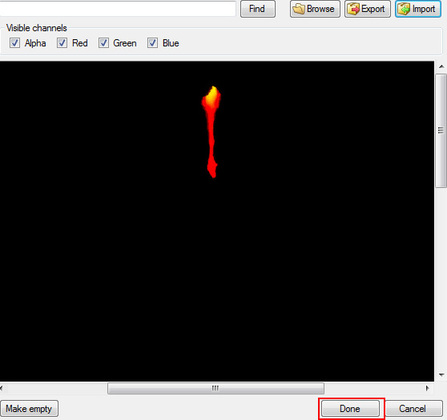
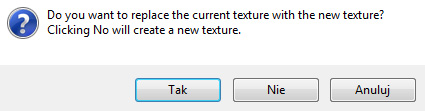
Click YES.

10.
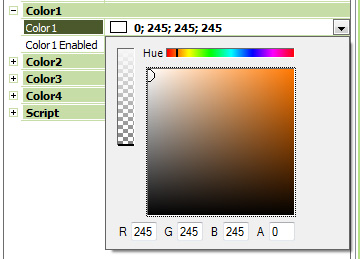
Open "Color 1" tab.
Open "Color 1" tab.
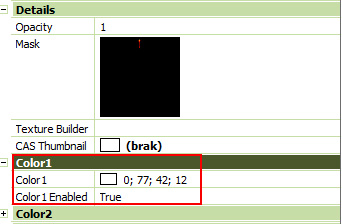
Select not completely white, but a bit darker color.
Open "Color 2" tab.
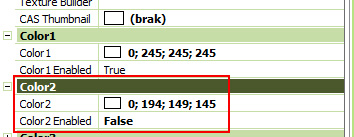
Set color enabled to "True".
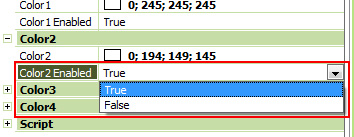
Set the color to pink.
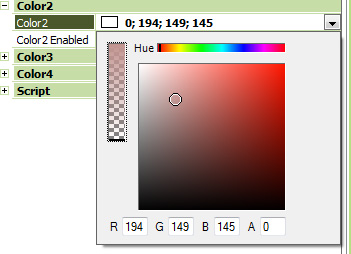
You will be able to change the colors in game so don't worry about the perfect colors. Set them just to very light grey and pink to make them show properly in CAS.

11.
Save your project by File > Save As to make sure you have a copy of your marking. Just in case.
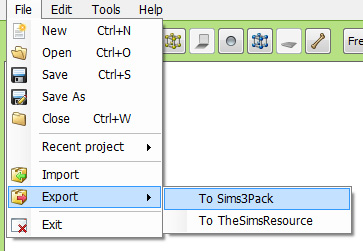
Now go to File > Export > To Sims3Pack
Save your project by File > Save As to make sure you have a copy of your marking. Just in case.
Now go to File > Export > To Sims3Pack
Name your marking, choose destination folder and save it.

12.
Because unfortunately markings can't be installed from sims3pack.
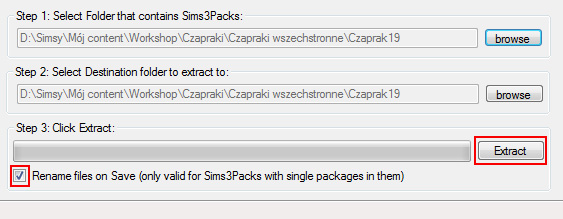
Open Sims 3 Pack Multi Installer.
Step 1: Select destination folder that contains your sims3pack file you have exported from TSRW. Make sure that this folder doesn't contain any other sims3pack files!
Step 2: Select where you want package file to be saved.
Check option "Rename files on Save" so package would be named as your sims3pack file.
Click "Extract".
Because unfortunately markings can't be installed from sims3pack.
Open Sims 3 Pack Multi Installer.
Step 1: Select destination folder that contains your sims3pack file you have exported from TSRW. Make sure that this folder doesn't contain any other sims3pack files!
Step 2: Select where you want package file to be saved.
Check option "Rename files on Save" so package would be named as your sims3pack file.
Click "Extract".
Extracting will take not more than a second. Go to destination folder, find your package file and put in in Mods/Packages folder.

13.
Turn on the game and be happy. Your have created your very first marking!
Turn on the game and be happy. Your have created your very first marking!