ADDING 4TH CHANNEL
This tutorial will show you how to add a 4th color channel to your tack. It is believed you already know the basics of Photoshop and recoloring objects by creating 3-channeled masks. If not, please visit Creating a pad tutorial to learn how to make a 3 channel mask.
You will need Photoshop with a special DDS Plugin. To read more about it please check THIS GUIDE.
You will need Photoshop with a special DDS Plugin. To read more about it please check THIS GUIDE.

First you need to decide which part of the multiplier will be your 4th channel. For your own convinience I suggest creating a separate layer for all the items that will be your 4th channel. Save the file as a copy because you can merge that layer into 1 to make it easier on yourself.
As an example below I used my figure 8 bridle texture. I have merged all my base textures into 1 layer named "base_multiplier" and kept my 4th channel layer (jewels) as a separate layer called "4th channel items".
As an example below I used my figure 8 bridle texture. I have merged all my base textures into 1 layer named "base_multiplier" and kept my 4th channel layer (jewels) as a separate layer called "4th channel items".
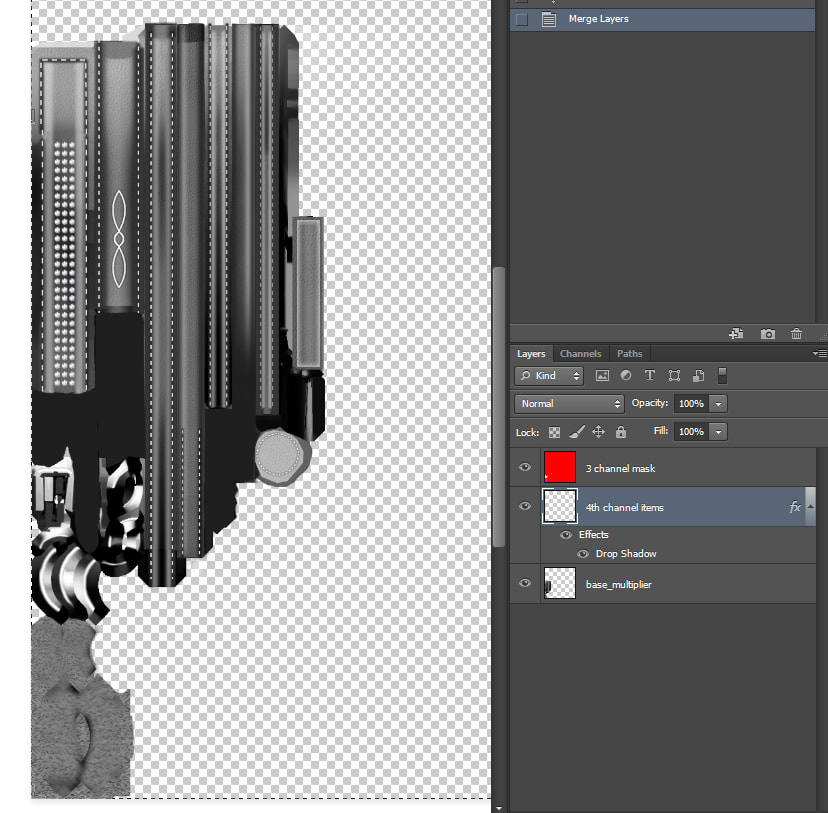
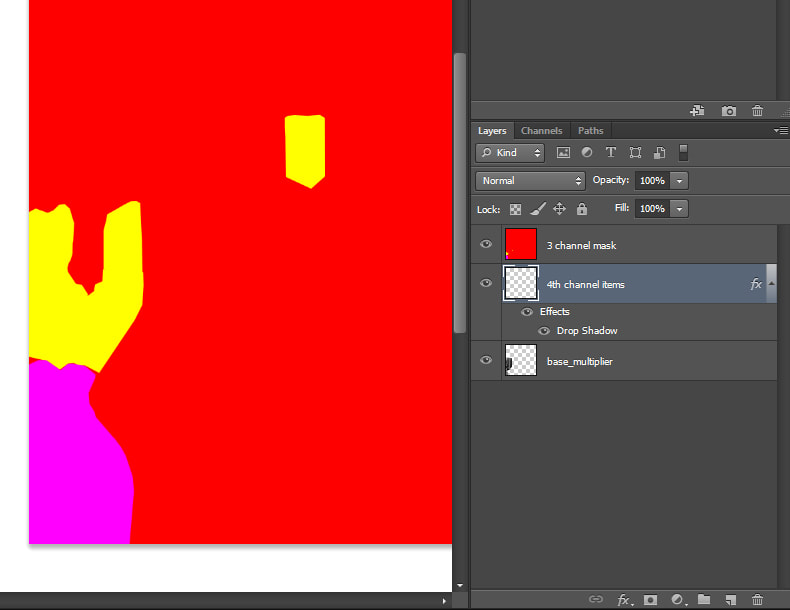
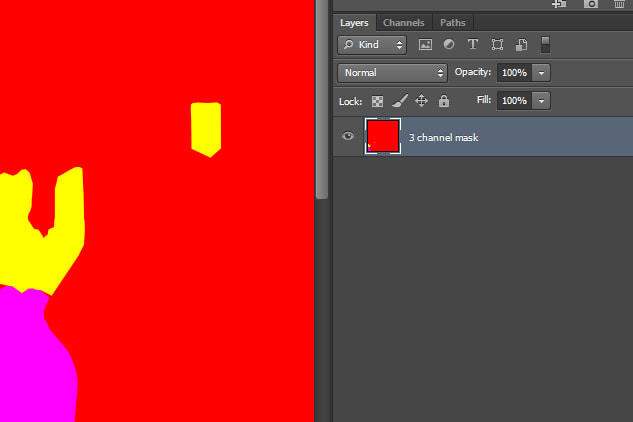
Go ahead and create your standard 3 channel mask as you normally do, using only 3 collors.
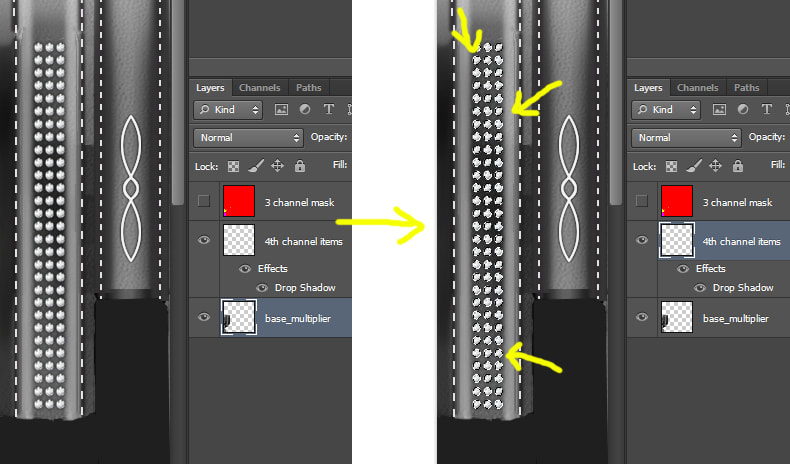
Onto the 4th channel! Locate the layer with your 4th channel textures and click it's preview in the Layers tab when holding CTRL. This will select all the textures without selecting the entire size of the picture.
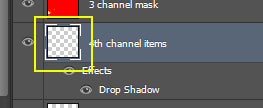
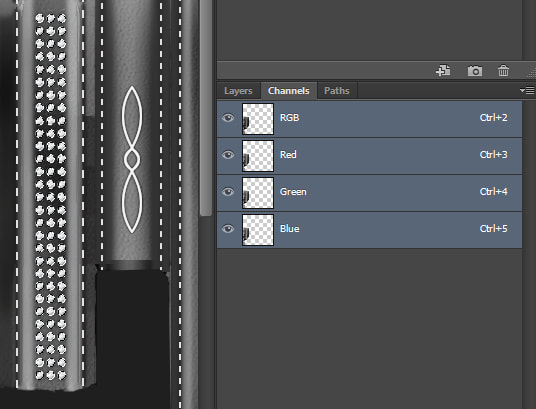
In the live preview you should now see your 4th channel textures selected with a standard Photoshop selection line.

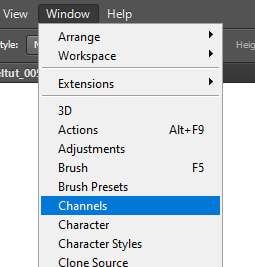
Make sure you have access to Channels tab in Photoshop.
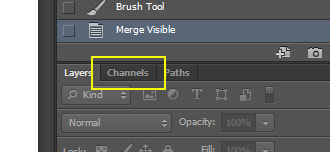
If for some reason you don't see it, you can simply go to Window > Channels to bring it to your work space.
Let's go to our channels tab. Make sure your 4th channel texture is still selected.
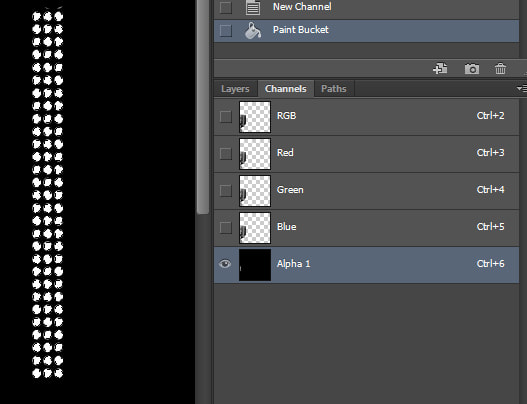
Click the bottom "add layer" icon to add a new channel layer.
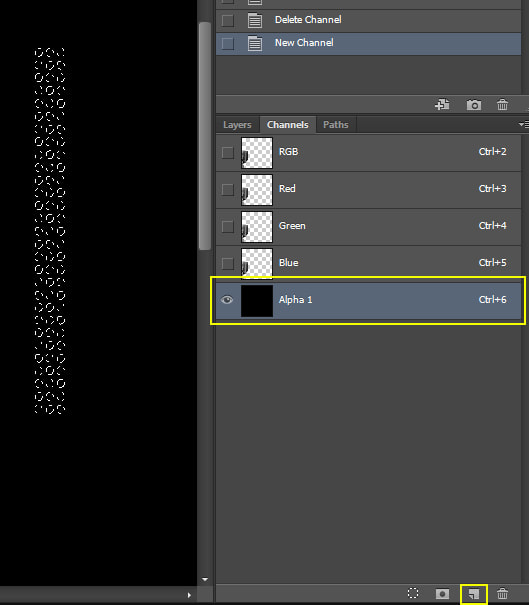
Now you should be able to see a full back image, new layer AND your selection over it.
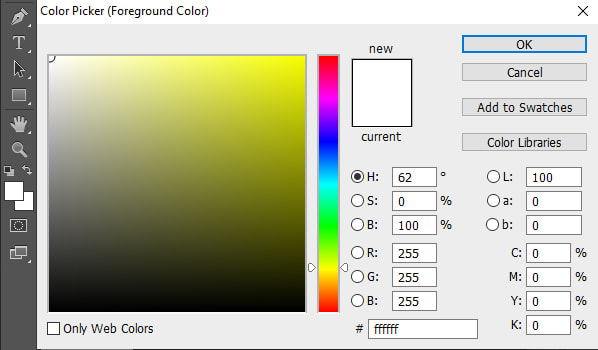
Now it's time to make the actual color channel. Grab White (#FFFFFF) in the color picker.
Anything that will be WHITE on your ALPHA 1 channel layer will be your 4TH CHANNEL COLOR in TSRW.
Anything that will be WHITE on your ALPHA 1 channel layer will be your 4TH CHANNEL COLOR in TSRW.
Grab a Brush or Paint Bucket Tool and paint your selection white.
If you want to keep working on other stuff in the project you can simply go back to Layers tab and click any of the visible layers to bring back the normal view. Selecting Alpha 1 in the Channels tab will bring you back to the black and white image again if you need to apply any changes.
When you're done with your mask, merge all the layers or keep only your 3 channel mask layer. Channel mask Alpha 1 is still in your Channels tabs so don't worry about it.
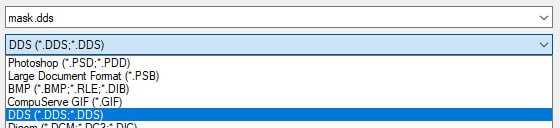
Time to save your file. If your DDS pluging has been installed properly you will be able to choose DDS as a file format.
Your image icon in Windows Explorer will show only Alpha 1 channel but that's perfectly normal.
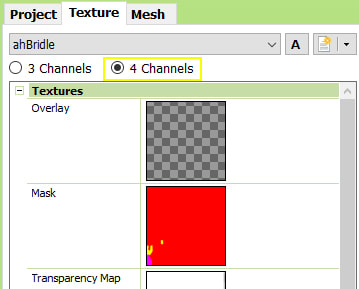
Open TSRW and go to Textures tab just like you normally would. If the project is not set to 4 channels yet, simply tick the little dot next to "4 Channels".
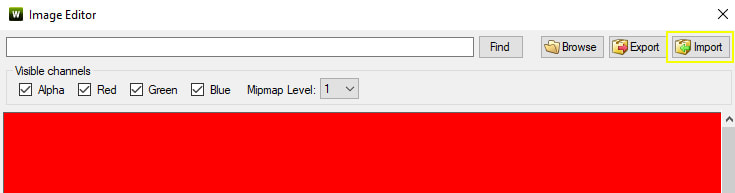
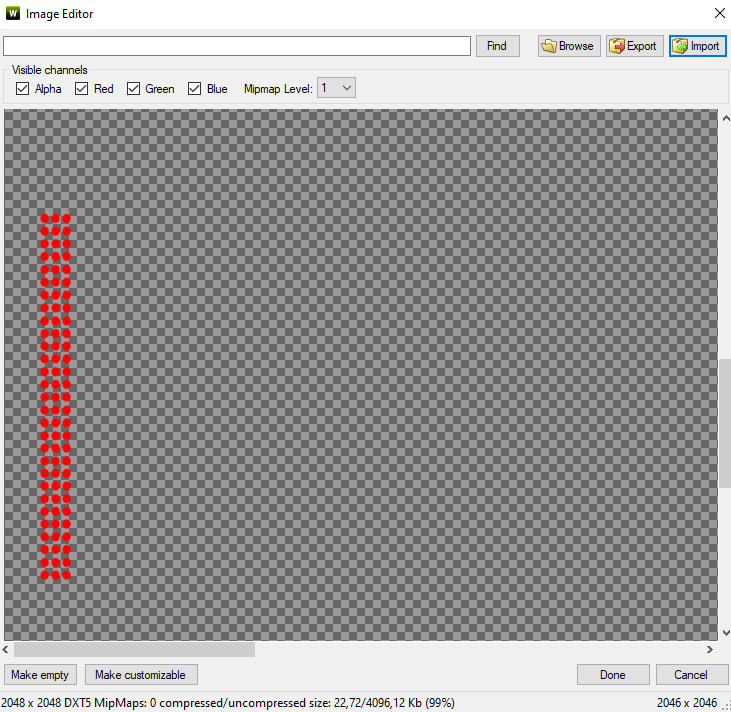
Open your Mask and hit "Import" to load new mask.
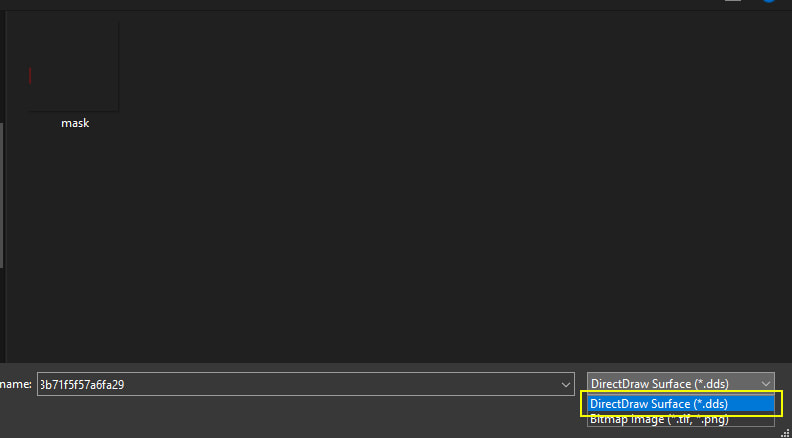
Locate your DDS file location and switch format to DDS.
TSRW preview will show only Alpha 1 channel but that's what we want. The rest still exist.
Hit "Done" and replace your mask.
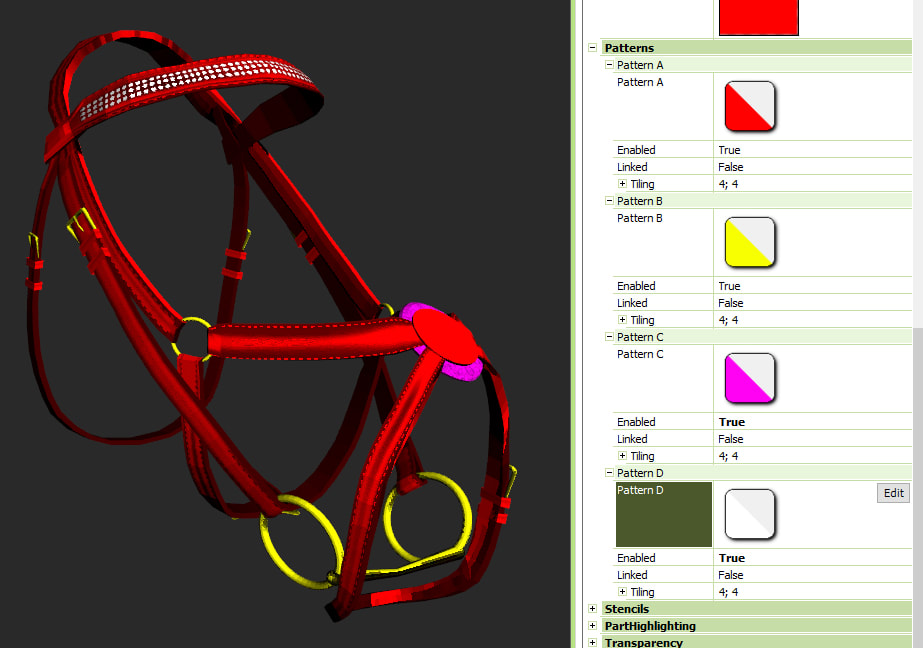
Scroll down to Patterns and enable Pattern D by setting it's value to "True".
Here is the final result. You can see all the channels appear on the bridle.
Unfortunately for saddle pads and some other tack preview will not be available so the only way to check if everything works ok is to export the file and check it in game.
Unfortunately for saddle pads and some other tack preview will not be available so the only way to check if everything works ok is to export the file and check it in game.
IMPORTANT: Multiple verions in your project can have a different amount of available channels. But the entire project has to be set to 4 channels if you want at least 1 of them to have those 4 channels.
What does it mean? Let's use my bridle as an example.
I have 6 variants of the bridle but only 5 of them need 4th channel - only 5 of them have jewels on the browband.
What does it mean? Let's use my bridle as an example.
I have 6 variants of the bridle but only 5 of them need 4th channel - only 5 of them have jewels on the browband.
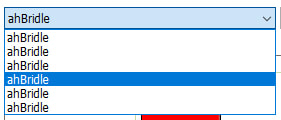
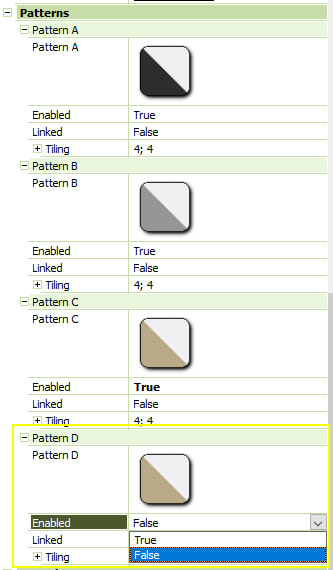
You have to select all projects (one by one) that do not require 4 channels and simply disable Pattern D by setting it's value to False.. You have to keep the "4 Channels" part selected on top so other retextures/variants can use 4 channels for the browband jewels.
